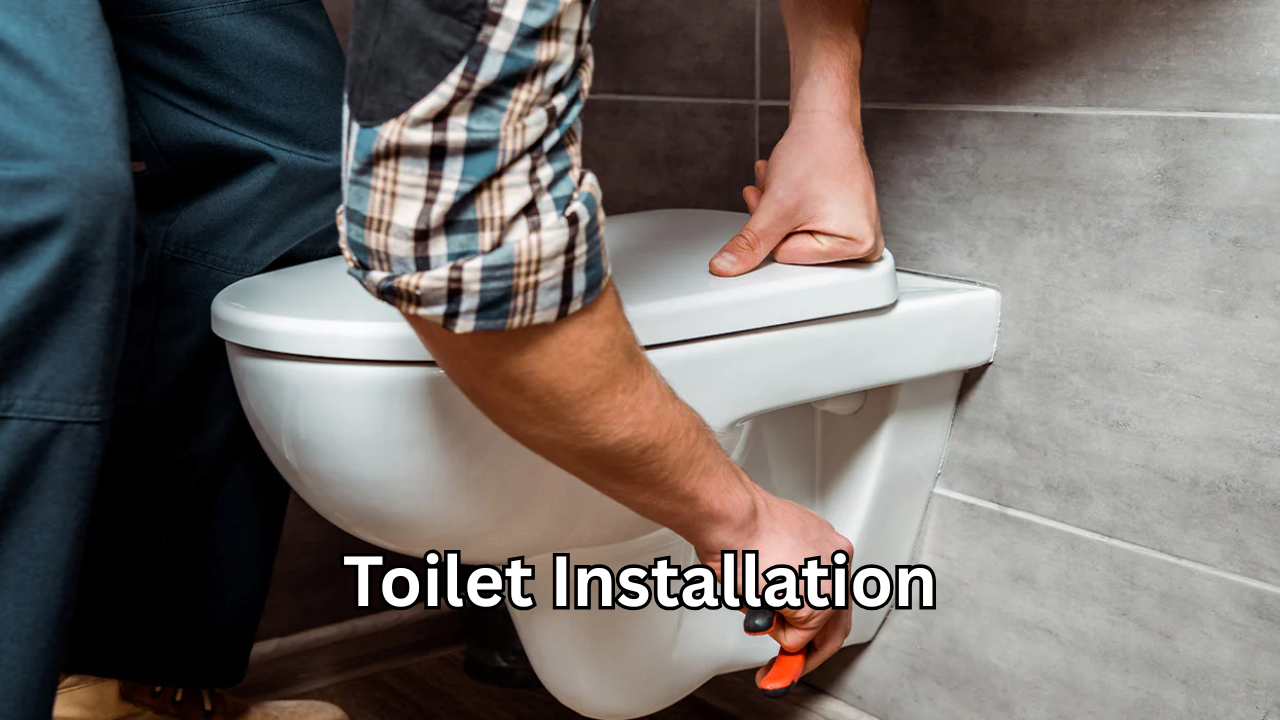
Toilet installation is one of those home improvement tasks that seems simple on the surface but carries long-term implications for comfort, hygiene, and plumbing performance. Whether you are replacing an outdated fixture or setting up a bathroom in a new space, getting this job right matters more than most homeowners realize. A properly fitted toilet prevents leaks, controls odors, supports water efficiency, and protects your flooring and substructure from costly damage.
Understanding Why Proper Installation Matters
A toilet is used multiple times a day, every day, which means even a small mistake during setup can turn into a persistent problem. Poor alignment, weak seals, or incorrect connections often lead to water seepage that goes unnoticed until it causes warped floors or mold growth. Beyond damage, an unstable fixture can feel uncomfortable and unsafe, especially for children or older adults.
Professional-level installation practices focus on precision, correct sealing, and long-term reliability. When done correctly, the toilet remains stable, flushes efficiently, and operates quietly without recurring maintenance issues. This is why many plumbing experts emphasize preparation and accuracy over speed.
Types of Toilets and Installation Considerations
Before any work begins, it is essential to understand the type of toilet being installed, as design affects both process and complexity. One-piece toilets are compact and sleek but heavier to handle, while two-piece models are easier to maneuver and more common in residential bathrooms. Wall-hung toilets, often seen in modern designs, require in-wall carriers and precise framing, making them more complex than floor-mounted options.
Each style has specific clearance requirements, rough-in measurements, and support needs. Choosing a toilet that matches your bathroom layout and plumbing configuration reduces the risk of costly adjustments later. Experienced installers always verify rough-in distance, water supply location, and drainage alignment before committing to a specific model.

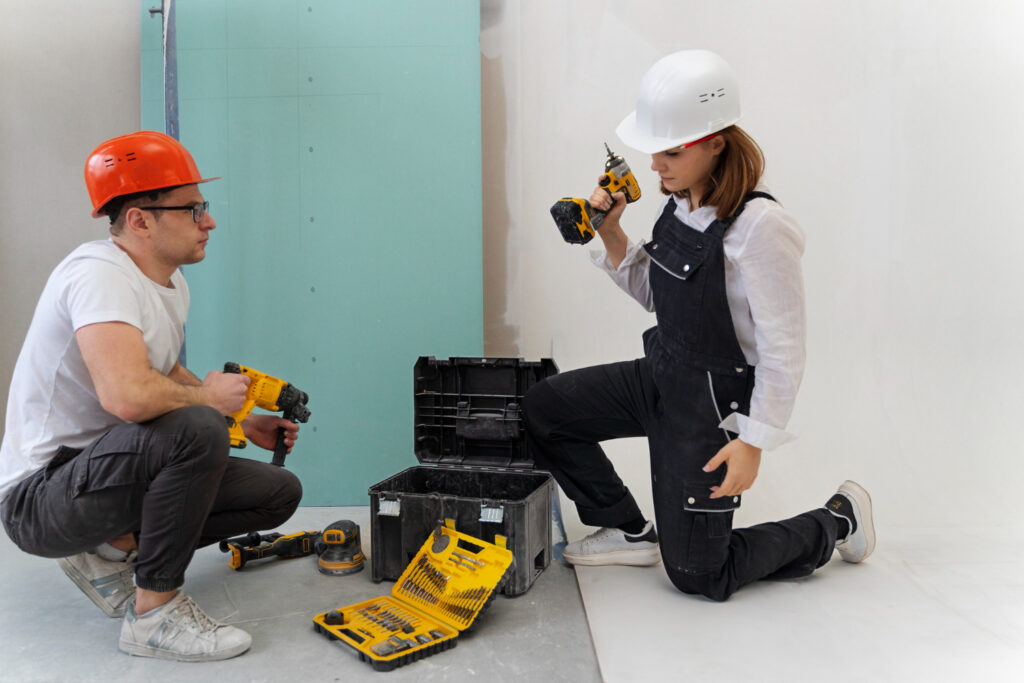
Tools, Materials, and Preparation Essentials
Successful installation begins well before the toilet is placed on the floor. Shutting off the water supply and draining the old fixture prevents spills and makes the workspace safer. Inspecting the flange, which connects the toilet to the drainpipe, is equally important. A cracked or misaligned flange should be repaired or replaced before proceeding.
Quality materials play a major role in long-term performance. A durable wax ring or modern wax-free seal ensures a tight connection, while stainless steel bolts resist corrosion over time. Taking the time to prepare properly often saves hours of troubleshooting later and helps avoid repeat work.
Step-by-Step Overview of the Installation Process
While the exact steps vary slightly depending on toilet design, the general process follows a logical sequence. After positioning the seal and aligning the bowl over the flange, the toilet is lowered carefully to maintain an even seal. Bolts are tightened gradually and evenly to avoid cracking the porcelain, which is a common and expensive mistake.
Once the bowl is secure, the tank is mounted if applicable, followed by reconnecting the water supply. A controlled test flush allows the installer to check for leaks, proper drainage, and stable seating. This methodical approach reflects professional standards and minimizes the risk of hidden issues.
Toilet Installation Costs and Time Expectations
The cost of toilet installation can vary based on location, toilet type, and whether additional plumbing repairs are required. In many cases, the expense includes labor, removal of the old unit, disposal, and basic materials. More complex setups, such as wall-mounted systems or flange repairs, naturally increase both cost and time.
From a time perspective, a straightforward replacement typically takes one to two hours for an experienced professional. DIY attempts may take longer, especially if unexpected issues arise. Understanding these factors helps homeowners plan realistically and avoid rushed decisions.
Common Mistakes That Lead to Problems
Many installation problems stem from overconfidence or skipped steps. Overtightening bolts can crack the toilet base, while uneven tightening leads to rocking. Using low-quality seals or reusing old components often results in slow leaks that are hard to detect early.
Another frequent issue is ignoring floor level. An uneven surface can compromise stability, even if everything else is done correctly. Addressing these details during installation significantly reduces the likelihood of future repairs and extends the life of the fixture.
When to Call a Professional Plumber
While some homeowners are comfortable handling basic plumbing tasks, certain situations call for professional expertise. If the flange is damaged, the drain height is incorrect, or the bathroom is part of an older home with aging pipes, professional help can prevent serious complications.
Licensed plumbers bring experience, proper tools, and knowledge of local plumbing codes. Their work often includes warranties, adding an extra layer of assurance. In many cases, the peace of mind gained from professional service outweighs the cost savings of a DIY approach.
Maintenance Tips After Installation
Once installed, a toilet requires minimal but consistent care to stay in top condition. Periodically checking for movement, inspecting the base for moisture, and listening for unusual sounds during flushing can help catch issues early. Avoid using harsh chemical cleaners that can degrade seals and internal components over time.
Simple habits, such as tightening bolts gently if minor movement appears and replacing worn supply lines promptly, contribute to long-term reliability. Good maintenance complements proper installation and keeps your bathroom functioning smoothly.
Toilet Installation and Water Efficiency
Modern toilets are designed with water conservation in mind, but their efficiency depends heavily on correct installation. A poor seal or misaligned flush mechanism can waste water silently, increasing utility bills. Ensuring that all components function as intended supports both environmental responsibility and household savings.
Choosing a high-efficiency model and installing it correctly aligns with sustainable living goals. Over time, the reduced water usage adds up, making the initial effort worthwhile from both financial and environmental perspectives.
Final Thoughts and Key Takeaway
Toilet installation may appear straightforward, but it plays a critical role in bathroom performance, hygiene, and structural safety. From selecting the right toilet to ensuring a secure, leak-free setup, each step demands attention to detail and an understanding of plumbing fundamentals. When done correctly, the result is a stable, efficient fixture that serves your household reliably for years.
Whether you choose a DIY approach or hire a professional, prioritizing quality, preparation, and precision is the smartest path forward. A well-installed toilet is not just a convenience; it is an investment in your home’s comfort and long-term value.
Also Read: Outdoor Dog Kennel: The Ultimate Positive Guide to Safe and Comfortable Living

One thought on “Toilet Installation Made Easy: A Smart, Stress-Free Upgrade for Your Bathroom”
Comments are closed.