Ceiling fan installation is one of those home upgrades that seems simple on the surface but delivers long-term comfort, energy savings, and visual appeal when done correctly. A properly installed fan improves air circulation, supports HVAC efficiency, and adds balance to a room’s design without demanding a major renovation. Whether you are replacing an outdated unit or adding a new fixture, understanding the process and best practices helps you avoid common mistakes and ensures safe, reliable performance.
Why a Ceiling Fan Is a Worthwhile Home Improvement
A ceiling fan is more than a decorative accessory. When chosen and installed with care, it becomes a functional asset that works year-round. In warm months, it creates a wind-chill effect that makes rooms feel cooler. During colder seasons, reversing the blade direction redistributes warm air trapped near the ceiling.
Homeowners appreciate this upgrade because it combines comfort with efficiency. Reduced reliance on air conditioning and heating can lead to noticeable energy savings over time. From an aesthetic perspective, modern fan designs complement nearly every interior style, from minimalist apartments to traditional family homes.
Planning Before You Begin
Preparation plays a critical role in a successful ceiling fan installation. Before any tools come out, it is important to evaluate the room and existing electrical setup. Ceiling height, room size, and structural support all influence the type of fan you should select.
Electrical safety is another key consideration. A fan requires a ceiling-rated electrical box designed to support moving weight. Standard light fixture boxes are often insufficient. Confirming that the wiring meets local electrical codes helps prevent hazards and ensures long-term reliability.
Taking time to read the manufacturer’s instructions may feel obvious, but skipping this step leads to most installation errors. Each model has unique mounting and wiring requirements that must be followed precisely.

Choosing the Right Fan for Your Space
Selecting the correct fan size and style improves both performance and visual harmony. A fan that is too small may struggle to circulate air, while an oversized model can overwhelm a compact room.
Blade span should match the square footage of the space. Motor quality also matters, as a well-built motor runs quietly and lasts longer. Many homeowners now prefer energy-efficient models with integrated LED lighting and remote controls for added convenience.
Finish and blade design should align with the room’s décor. While style is subjective, balance and proportion are universal principles that enhance the overall look.
Ceiling Fan Installation Safety Considerations
Safety should never be an afterthought. Turning off power at the circuit breaker is essential before any wiring work begins. Using a voltage tester adds an extra layer of protection and confirms that electricity is fully disconnected.
Ladder stability, proper tools, and clear working space reduce the risk of accidents. If the ceiling shows signs of damage or the wiring appears outdated, consulting a licensed electrician is a wise decision. These precautions protect both the installer and the home.
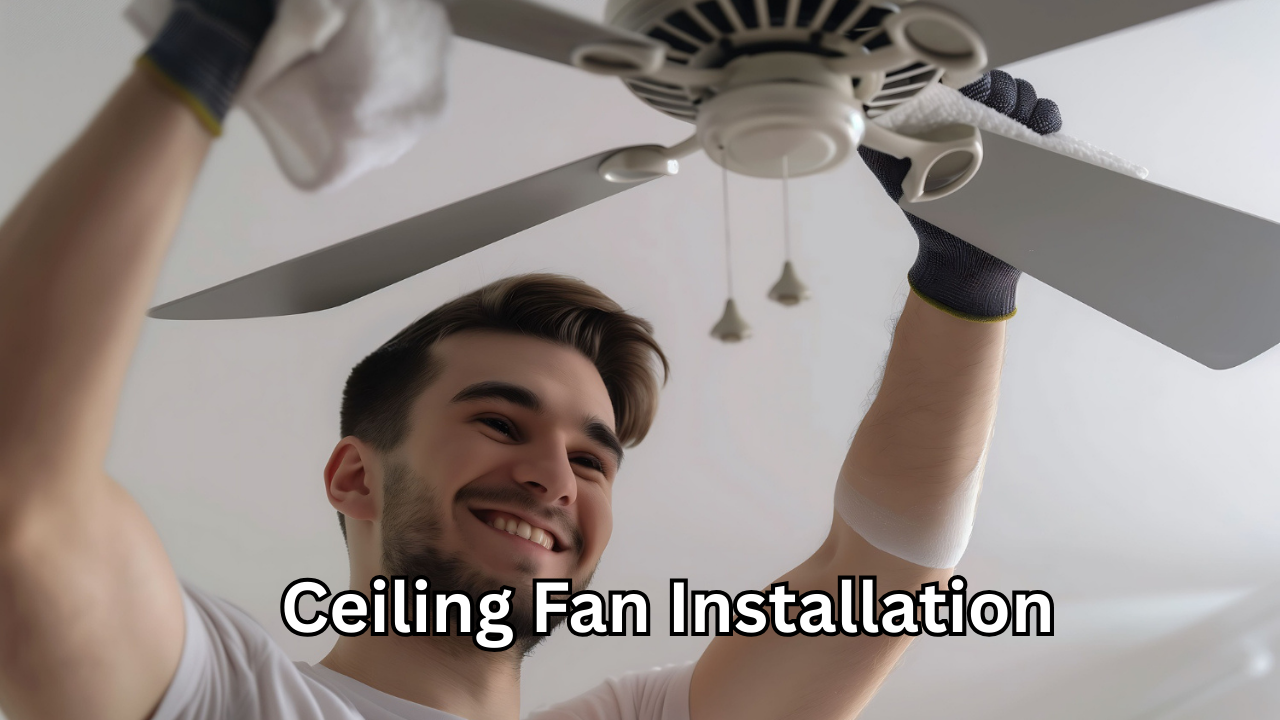
Step-by-Step Ceiling Fan Installation Overview
Ceiling fan installation follows a structured sequence that ensures stability and proper operation. While the exact steps vary by model, the general process remains consistent.
The old fixture is removed carefully, exposing the electrical box. Once the fan-rated box is secured, the mounting bracket is attached firmly to support the fan’s weight and motion. Wiring connections are made according to color codes and manufacturer guidance, ensuring secure and insulated connections.
After the motor housing is mounted, blades are attached evenly to maintain balance. Any included lighting components are installed last, followed by restoring power and testing functionality. Attention to detail at each stage prevents wobbling, noise, and electrical issues.
Common Mistakes to Avoid
Even experienced DIY enthusiasts can make errors during installation. One frequent mistake is using an incompatible electrical box, which compromises safety and stability. Another issue involves improper blade alignment, leading to wobble and uneven airflow.
Skipping the balancing process or overtightening screws can also cause long-term problems. Rushing through wiring connections increases the risk of loose contacts, which may result in flickering lights or intermittent operation.
Avoiding these pitfalls requires patience, precision, and respect for the installation instructions provided by the manufacturer.
When to Hire a Professional
While many homeowners feel confident tackling basic electrical projects, some situations call for professional help. High ceilings, complex wiring, or the absence of an existing fixture significantly increase installation difficulty.
Hiring a licensed electrician ensures compliance with local codes and reduces liability risks. Professionals also complete the job efficiently and can identify hidden issues that might otherwise go unnoticed. In many cases, the peace of mind alone justifies the added cost.
Maintenance After Installation
Once your fan is in place, routine maintenance keeps it performing at its best. Dust buildup on blades reduces efficiency and can cause imbalance over time. Cleaning the blades every few months maintains smooth operation and preserves indoor air quality.
Occasional checks of mounting screws and electrical connections help identify minor issues before they escalate. If the fan includes a remote or smart features, keeping firmware updated ensures continued compatibility and performance.
Proper care extends the lifespan of your investment and maintains the comfort benefits you expect.

Energy Efficiency and Long-Term Benefits
A well-installed fan supports energy efficiency throughout the year. By improving air circulation, it allows thermostats to be set slightly higher in summer and lower in winter without sacrificing comfort.
Modern fans are designed with efficiency in mind, often earning energy certifications that reflect reduced power consumption. Over time, these savings contribute to lower utility bills and a smaller environmental footprint, making the upgrade both practical and responsible.
Final Thoughts on a Smart Home Upgrade
Ceiling fan installation may appear straightforward, but achieving the best results depends on thoughtful planning, careful execution, and ongoing maintenance. When done correctly, it enhances comfort, supports energy efficiency, and adds lasting value to your home.
Whether you choose a DIY approach or hire a professional, focusing on safety, quality components, and proper techniques ensures a smooth experience. With the right preparation and attention to detail, this simple upgrade becomes a reliable improvement you can enjoy for years to come.
Also Read: Dishwasher Not Draining: A Frustrating Problem With Reliable Solutions


One thought on “Ceiling Fan Installation Made Easy: A Smart Upgrade You’ll Love”
Comments are closed.