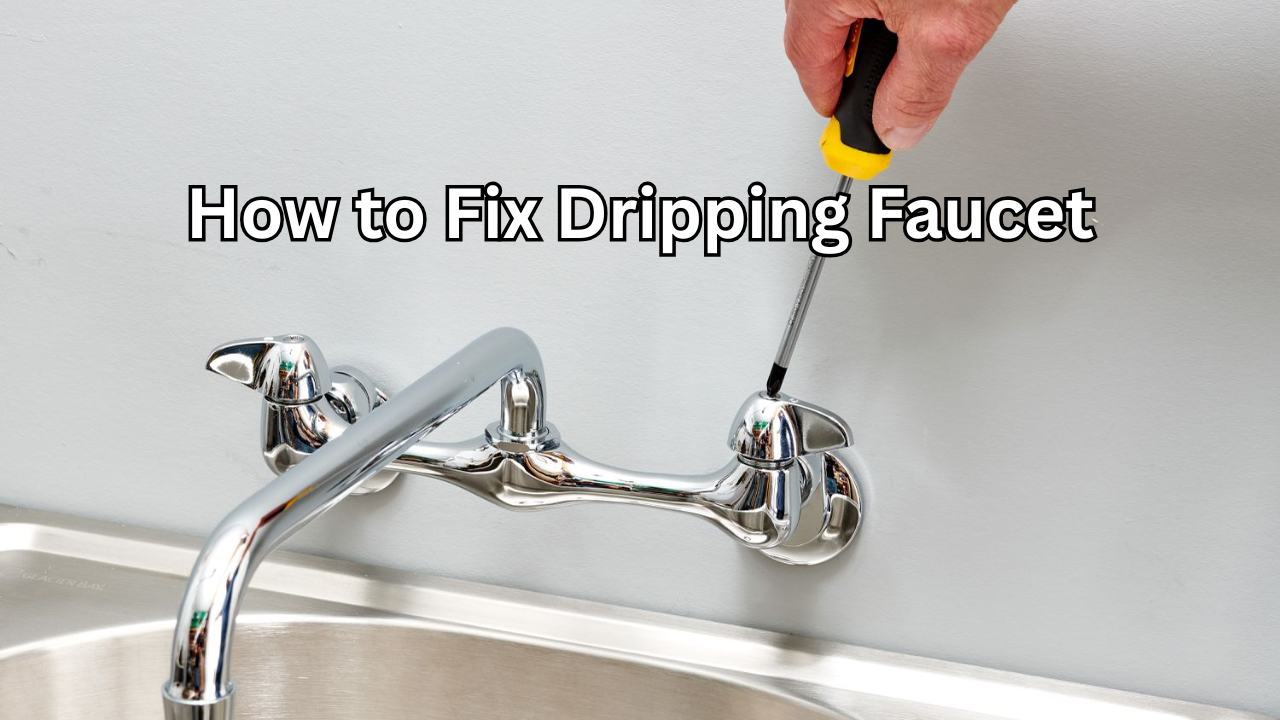
How to Fix Dripping Faucet – A dripping faucet may seem like a minor annoyance, but over time it can waste hundreds of gallons of water, increase your utility bills, and even damage your sink fixtures. If you’re searching for how to fix dripping faucet, you’re in the right place. This comprehensive, professional guide will walk you through everything you need to know — from identifying the faucet type to completing the repair safely and effectively.
Whether you’re a DIY beginner or a homeowner looking to save money on plumbing services, this detailed guide will help you stop that frustrating drip for good.
Why You Should Fix a Dripping Faucet Immediately
Many homeowners ignore a small drip, thinking it’s harmless. However, a dripping faucet can:
- Waste significant amounts of water over time
- Increase your monthly water bill
- Cause corrosion in sink fixtures
- Lead to mold and mildew growth
- Create constant noise and frustration
Even a faucet dripping once per second can waste thousands of gallons of water annually. Addressing the issue quickly not only protects your home but also conserves water and reduces expenses.
Common Causes of a Dripping Faucet
Before learning how to fix dripping faucet problems, it’s essential to understand what causes them. Most leaks happen due to worn or damaged internal components.
The most common causes include:
- Worn-out washers
- Damaged O-rings
- Corroded valve seats
- Faulty cartridges
- High water pressure
- Loose or worn seals
Identifying the correct cause will make the repair process much easier and more effective.

Identify the Type of Faucet You Have
Not all faucets are built the same. The repair process depends on the type of faucet installed in your kitchen or bathroom.
There are four main types of faucets:
Compression faucets
Ball faucets
Cartridge faucets
Ceramic disk faucets
Each design uses different internal parts, which means the repair steps may vary slightly.
Compression Faucet
Compression faucets are common in older homes. They typically have two handles — one for hot water and one for cold. The leak usually occurs because of a worn washer.
Ball Faucet
Ball faucets are commonly found in kitchens. They have a single handle that moves over a rounded ball-shaped cap. Leaks usually occur due to worn seals or springs.
Cartridge Faucet
Cartridge faucets may have one or two handles. If the faucet drips, the cartridge inside is often the issue.
Ceramic Disk Faucet
These are modern faucets known for durability. However, debris buildup or worn seals can still cause dripping.
Understanding your faucet type is the first step toward a successful repair.
Tools and Materials You Will Need
Before starting the repair, gather the necessary tools. Having everything ready will make the process smooth and efficient.
Common tools include:
Adjustable wrench
Screwdrivers
Allen wrench
Replacement washers or cartridges
Plumber’s grease
Cleaning cloth
White vinegar
Always make sure to purchase replacement parts that match your faucet model.
Step-by-Step Guide on How to Fix Dripping Faucet
Now let’s move into the detailed repair process. These general steps apply to most faucet types.
Step 1: Turn Off the Water Supply
Before starting any plumbing repair, shut off the water supply valves located under the sink. Turn them clockwise until fully closed.
Next, turn on the faucet to release any remaining water and relieve pressure.
Skipping this step can result in water spraying everywhere.
Step 2: Plug the Drain
Use a sink plug or cloth to block the drain. Small screws or parts can easily fall into the drain during the repair process.
Step 3: Remove the Faucet Handle
Carefully remove the decorative cap on the handle if present. Use a screwdriver or Allen wrench to loosen the screw holding the handle in place.
Gently lift the handle off the faucet.
Step 4: Inspect Internal Components
Once the handle is removed, you will see the internal mechanism.
For compression faucets, check the washer.
For cartridge faucets, remove and inspect the cartridge.
For ball faucets, inspect the ball assembly and springs.
For ceramic disk faucets, examine the ceramic disk and seals.
Look for visible wear, cracks, corrosion, or mineral buildup.
Step 5: Replace Damaged Parts
If the washer is worn or flattened, replace it with an identical size.
If the cartridge is faulty, install a new one.
If seals or O-rings are damaged, replace them.
Apply plumber’s grease lightly to moving parts to ensure smooth operation.
Step 6: Clean Mineral Deposits
Hard water can cause mineral buildup that affects faucet performance.
Soak removable parts in white vinegar for 30 to 60 minutes to dissolve deposits. Clean thoroughly before reinstalling.
Step 7: Reassemble the Faucet
Carefully put all parts back in reverse order. Make sure everything is tightened securely but avoid over-tightening, as it may damage components.
Step 8: Turn On the Water Supply
Slowly turn the water valves back on. Test the faucet and check for leaks.
If the dripping has stopped, congratulations — you’ve successfully fixed the issue.
Special Instructions for Each Faucet Type
To ensure better clarity, here are more detailed instructions based on faucet type.
How to Fix Dripping Compression Faucet
Replace the rubber washer at the bottom of the valve stem. If the valve seat is corroded, use a seat wrench to remove and replace it.
How to Fix Dripping Ball Faucet
Purchase a ball faucet repair kit. Replace springs, seats, and the ball assembly if needed.
How to Fix Dripping Cartridge Faucet
Remove the retaining clip and pull out the old cartridge. Install a new cartridge that matches the old one exactly.
How to Fix Dripping Ceramic Disk Faucet
Remove the ceramic cylinder and clean it carefully. Replace seals if damaged.
When to Call a Professional Plumber
Sometimes DIY repairs are not enough. Consider hiring a professional if:
- The faucet continues to drip after replacement
- Pipes are corroded
- You notice water damage under the sink
- The fixture is very old
A licensed plumber can diagnose deeper issues and prevent costly damage.
Preventing Future Faucet Leaks
Once you’ve learned how to fix dripping faucet problems, it’s important to prevent them from happening again.
Here are helpful prevention tips:
Avoid turning the faucet too tightly
Install a water softener if you have hard water
Clean aerators regularly
Inspect seals annually
Address minor drips immediately
Regular maintenance extends the life of your faucet and keeps your plumbing system healthy.
How Much Money Can You Save?
Fixing a dripping faucet yourself can save you the cost of hiring a plumber, which can range from moderate to expensive depending on your location.
Additionally, stopping water waste lowers your utility bill over time. A small repair today can prevent larger plumbing expenses in the future.
Safety Tips to Remember
Always turn off the water before beginning repairs.
Use proper tools to avoid damaging parts.
Wear gloves if working with corroded metal.
Follow manufacturer instructions if available.
Safety should always be your top priority.
Frequently Asked Questions About How to Fix Dripping Faucet
Many homeowners have common concerns regarding faucet repairs.
How long does it take to fix a dripping faucet?
Most repairs take between 30 minutes to one hour.
Can a dripping faucet increase my water bill?
Yes, even a slow drip can waste thousands of gallons per year.
Is it better to repair or replace the faucet?
If the faucet is very old or corroded, replacement may be more cost-effective.
Final Thoughts on How to Fix Dripping Faucet
Learning how to fix dripping faucet issues is a valuable skill for every homeowner. It saves money, conserves water, and prevents long-term plumbing damage. With the right tools, proper diagnosis, and careful repair, most faucet leaks can be fixed quickly and effectively.
Instead of letting that annoying drip continue, take action today. A simple repair can restore peace, reduce water waste, and keep your home running efficiently.
By following this comprehensive guide, you now have the knowledge and confidence to handle one of the most common household plumbing problems like a professional.
Also Read: L Shaped Bath: The Ultimate Space-Saving and Stylish Solution for Modern Bathrooms
One thought on “How to Fix Dripping Faucet: The Ultimate Step-by-Step Guide for a Leak-Free Home”
Comments are closed.