
How to Remove Mold From Walls – Discovering fuzzy black spots or fuzzy green patches on your drywall is enough to make any homeowner’s heart sink. Beyond being an eyesore, mold is a biological invader that can compromise your home’s structural integrity and your family’s respiratory health. If you are dealing with an outbreak, you need more than just a quick scrub; you need a strategic eradication plan.
This comprehensive guide breaks down exactly how to remove mold from walls effectively, safely, and permanently. We will explore the science of why mold grows, the professional-grade tools you need, and the step-by-step cleaning protocols for different wall surfaces.
Understanding the Enemy: Why Mold Grows on Walls
Mold is a type of fungus that reproduces through microscopic spores. These spores are everywhere—drifting through the air and clinging to your clothes. However, they only become a problem when they find the “perfect trifecta” for growth: moisture, warmth, and a food source.
Your walls are often the ideal buffet for mold. Drywall is backed by paper, which is organic cellulose—mold’s favorite snack. When you add high humidity, a leaky pipe, or condensation from a window, a colony can establish itself in as little as 24 to 48 hours. Identifying the moisture source is the first step; if you don’t fix the leak, the mold will return no matter how hard you scrub.
Essential Safety Gear and Preparation
Before you touch a single mold spore, you must protect yourself. When you agitate mold, it releases millions of spores into the air. Inhaling these can cause allergic reactions, asthma attacks, or more severe respiratory issues.
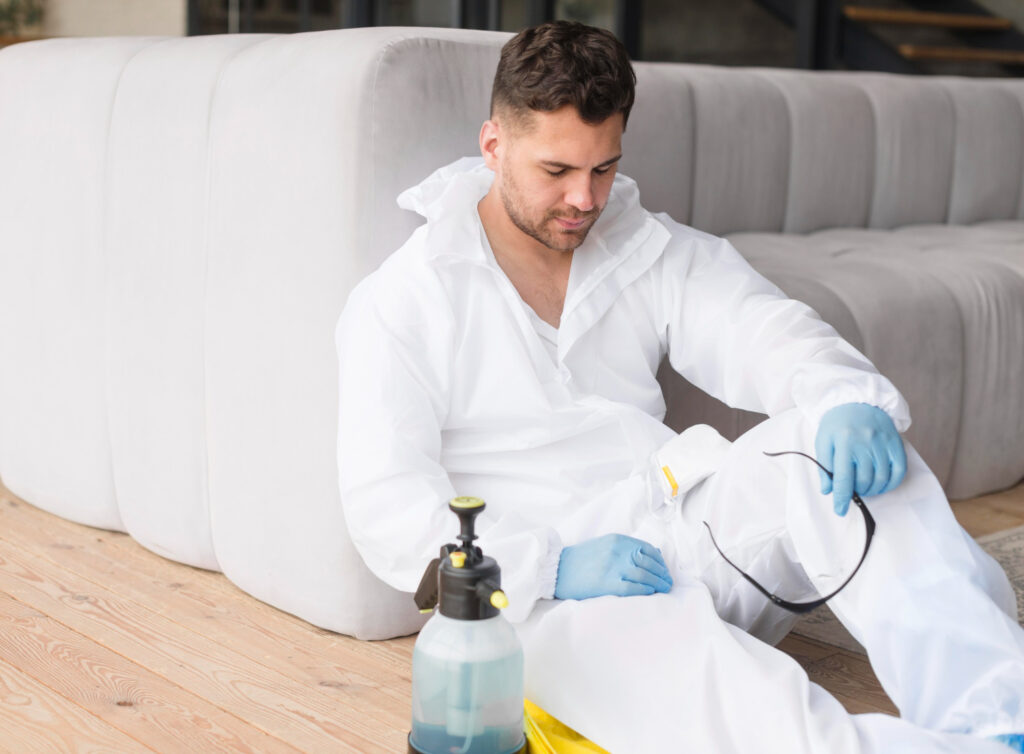
To clean mold professionally, you need the following Personal Protective Equipment (PPE):
- N95 or P100 Respirator: A standard dusk mask won’t cut it. You need a rated respirator to filter out microscopic spores.
- Safety Goggles: Choose non-vented goggles to keep spores out of your eyes.
- Long Gloves: Rubber or nitrile gloves that extend up the forearm.
- Disposable Coveralls: Or old clothes that you can wash immediately in hot water.
Room Preparation: Close off the affected room from the rest of the house. Tape plastic sheeting over doorways and turn off your HVAC system to prevent spores from circulating through your vents. If possible, place a box fan in a window blowing outward to create negative pressure, pulling spores out of the house.
Choosing the Best Cleaning Solution for Mold
There is a long-standing debate about the best chemical to kill mold. While many reach for bleach, it isn’t always the best answer.
The Case Against Bleach on Porous Walls: Bleach is excellent for non-porous surfaces like tile or glass. However, on porous surfaces like drywall or wood, the chemical structure of bleach prevents it from soaking into the material. The water in the bleach solution soaks in (feeding the mold roots), while the chlorine stays on top. This often leads to the mold returning even stronger.
Effective Alternatives:
- Distilled White Vinegar: The mild acidity of vinegar kills about 82% of mold species and penetrates deep into porous materials to kill the roots.
- Boric Acid (Borax): A natural cleaner that kills mold and acts as a future deterrent.
- Hydrogen Peroxide: A 3% concentration is an effective antifungal and antibacterial solution that is safer for the environment than bleach.
- Commercial Antimicrobials: Products specifically designed for mold remediation often provide the best long-term results.
Step-By-Step: How to Remove Mold from Painted Walls
Painted walls are generally easier to clean than bare drywall because the paint creates a semi-protective barrier.
- Vacuum the Surface: Use a vacuum equipped with a HEPA filter to remove loose spores. Do not use a standard vacuum, as it will simply exhaust the spores back into the room.
- Apply Your Solution: Mix a solution of one part white vinegar to one part water in a spray bottle. Spray the affected area liberally.
- Let it Sit: Allow the solution to sit for at least 60 minutes. This gives the acid time to break down the mold structure.
- Scrub Gently: Use a soft brush or a sponge to scrub the mold away. Avoid abrasive pads that might strip the paint.
- Wipe and Dry: Use a damp cloth to wipe away the residue. Use a clean, dry microfiber cloth to remove all remaining moisture. Use a fan to ensure the wall dries completely.
Dealing with Mold on Drywall and Unpainted Surfaces
If mold has penetrated unpainted drywall or the backing of wallpaper, the situation is more complex. Drywall is highly porous. If the mold has grown deep into the gypsum core, the material is structurally compromised.
The “Poke Test”: Take a screwdriver and gently press it against the moldy area. If the wall feels soft, spongy, or crumbles away, the mold has caused structural rot. In this case, cleaning is insufficient. You must cut out the affected section of drywall, extending at least 12 inches beyond the visible mold, and replace it with new, mold-resistant drywall.
If the mold is only on the surface, you can use the Borax method. Mix one cup of Borax with one gallon of water. Apply it to the wall and scrub. Unlike vinegar, you do not need to rinse the Borax off; leaving a thin layer on the surface helps prevent new spores from germinating.
Removing Mold from Behind Wallpaper
This is a common hidden danger. If you see “bubbling” wallpaper or smell a musty odor but don’t see spots, the mold is likely growing on the glue behind the paper.
To treat this, you must strip the wallpaper entirely. Use a steamer or wallpaper stripping solution. Once the paper is removed, treat the underlying wall with a professional-grade antimicrobial solution. Never simply paint or re-wallpaper over mold; it will continue to grow underneath, eventually rotting the wall.
How to Prevent Mold from Returning
Removal is only half the battle. If you don’t change the environment, the mold will be back within weeks. Follow these professional tips to keep your walls clean:
1. Control Humidity: Keep your home’s indoor humidity levels between 30% and 50%. Use a hygrometer (a cheap device available at hardware stores) to monitor this. If levels are high, invest in a high-capacity dehumidifier.
2. Improve Ventilation: Always run exhaust fans in bathrooms and kitchens. Ensure your clothes dryer is vented to the outside, not into the attic or crawlspace.
3. Fix Leaks Immediately: Even a tiny “pinhole” leak in a pipe inside a wall can create a massive mold colony before you even notice the wet spot.
4. Use Mold-Resistant Products: If you are repainting after a mold cleanup, use a high-quality primer with a “mildewcide” additive. In high-moisture areas like bathrooms, use semi-gloss or gloss paints, which resist moisture better than flat finishes.
When to Call a Professional Mold Remediation Expert
While small patches of mold (less than 10 square feet) can usually be handled by a DIY approach, some situations require professional intervention. You should call an expert if:
- The mold covers an area larger than a standard 3×3 foot patch.
- The mold is the result of contaminated flooding (sewage or groundwater).
- You or family members have severe respiratory issues or compromised immune systems.
- The mold is inside your HVAC system or ductwork.
- The source of the moisture is a mystery that you cannot find.
Professionals have the equipment—including air scrubbers, industrial dehumidifiers, and thermal imaging cameras—to ensure that not only the visible mold is gone, but the hidden spores and moisture sources are addressed as well.
Final Thoughts on Wall Mold Removal
Managing mold is about vigilance. By reacting quickly to the first sign of a musty smell or a small dark spot, you can prevent a minor nuisance from becoming a major renovation project. Remember: Kill the mold, remove the stain, and most importantly, dry the source. A dry home is a healthy home.
Also Read: Microwave Repair: Complete Homeowner’s Guide to Fast, Safe, and Cost-Effective Fixes


One thought on “How to Remove Mold From Walls: A Complete Professional Guide to a Healthier Home”
Comments are closed.